Because who doesn’t love a little das-blinkenlights??

So this project is incredibly simple. You only need three things:
1. Raspberry Pi Pico (RP2040) — Of course, you could use pretty much any micro controller you want
2. Some LEDs. Mine were from a super cheap set which had a hundred or so? No specs on them, but they’re red.
3. One resistor, for each LED you’re going to install. On this I used 470 ohm resistors, I’m pretty sure.
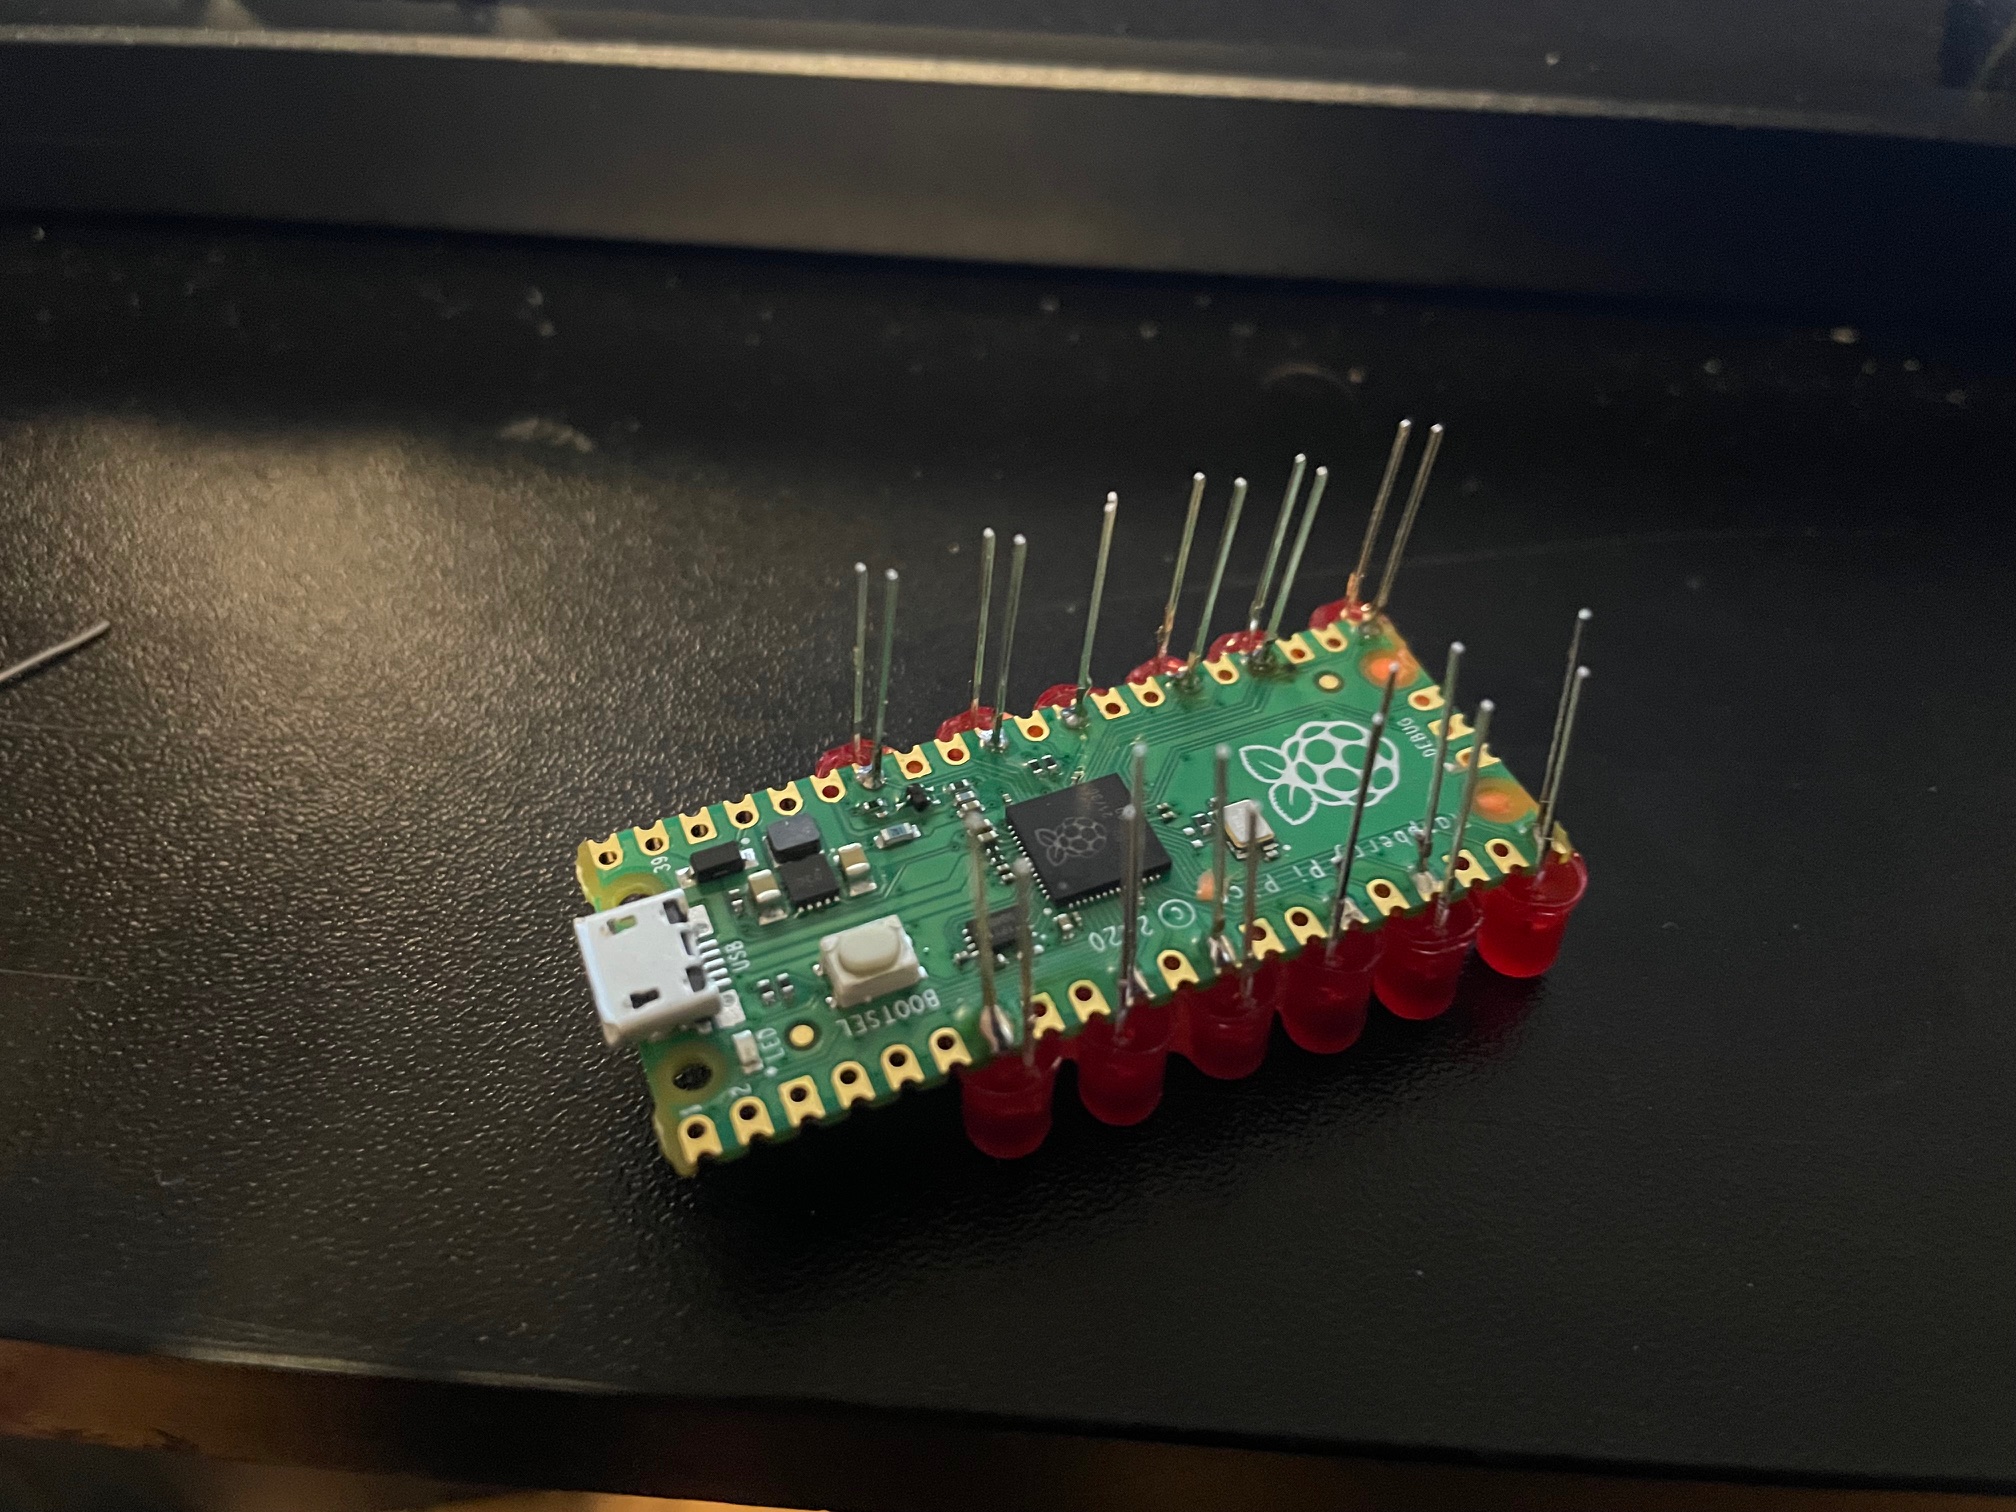
The best part is, you don’t need any kind of custom PCB. I did this just by soldering directly on the Pi Pico board itself. Now, you’ll need to be careful to get decent looking LED spacing… but it is more than possible if you are patient.
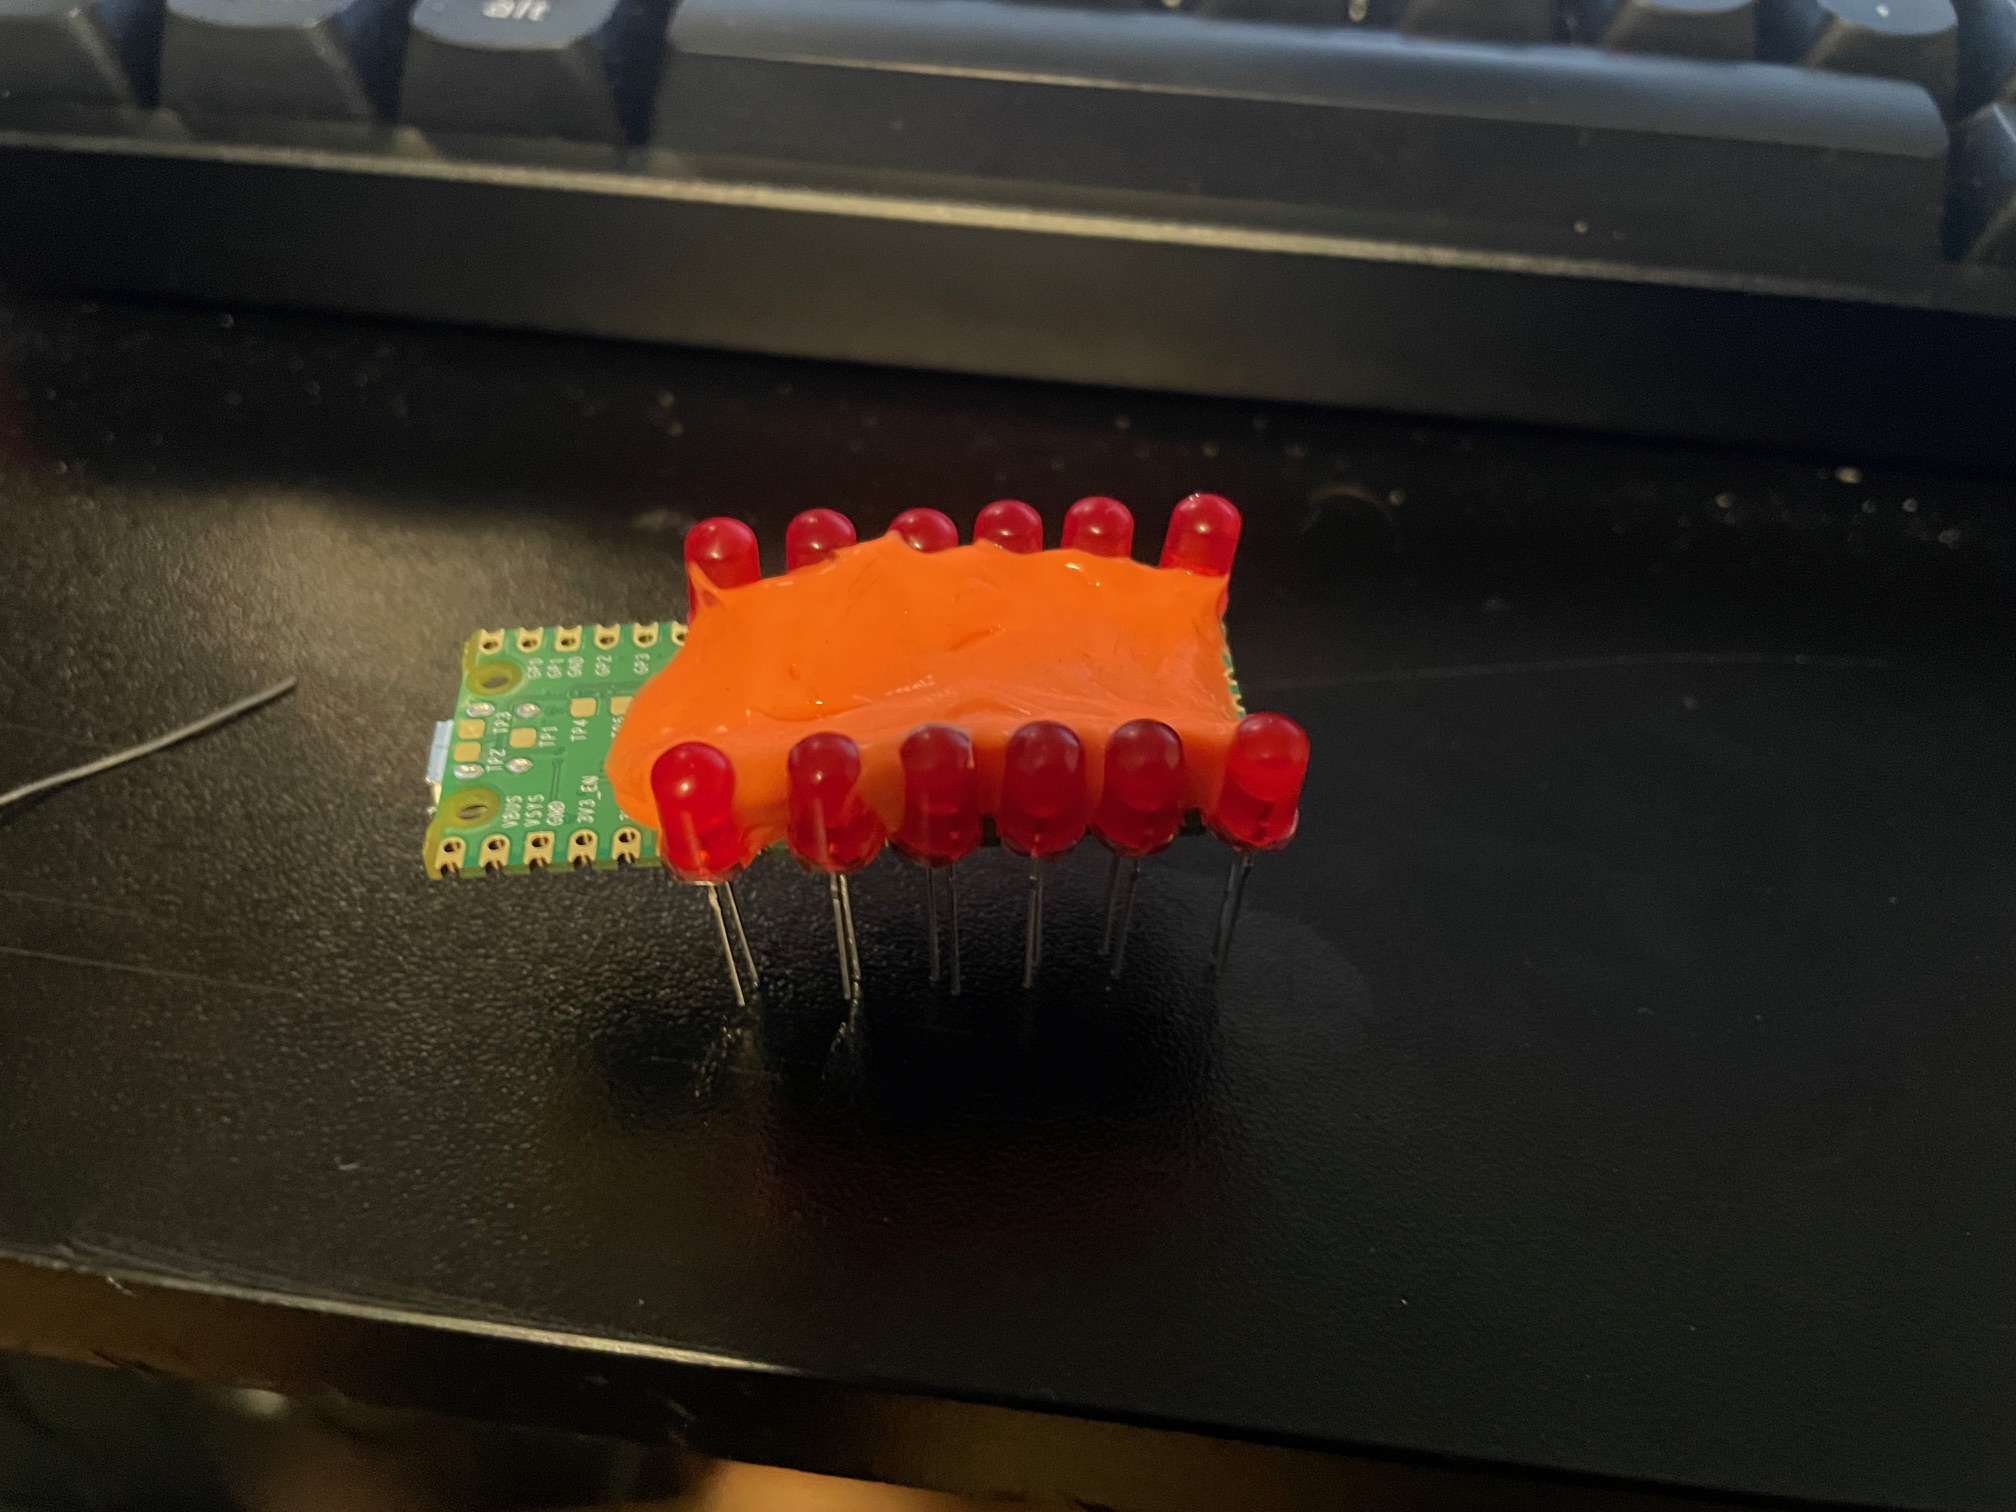
You’ll definitely need some way to hold the LEDs in place or you’ll be fighting them the entire time. Blue tac would probably be ideal here. I didn’t have that, but I did have an old egg of silly-putty which worked out better than expected.
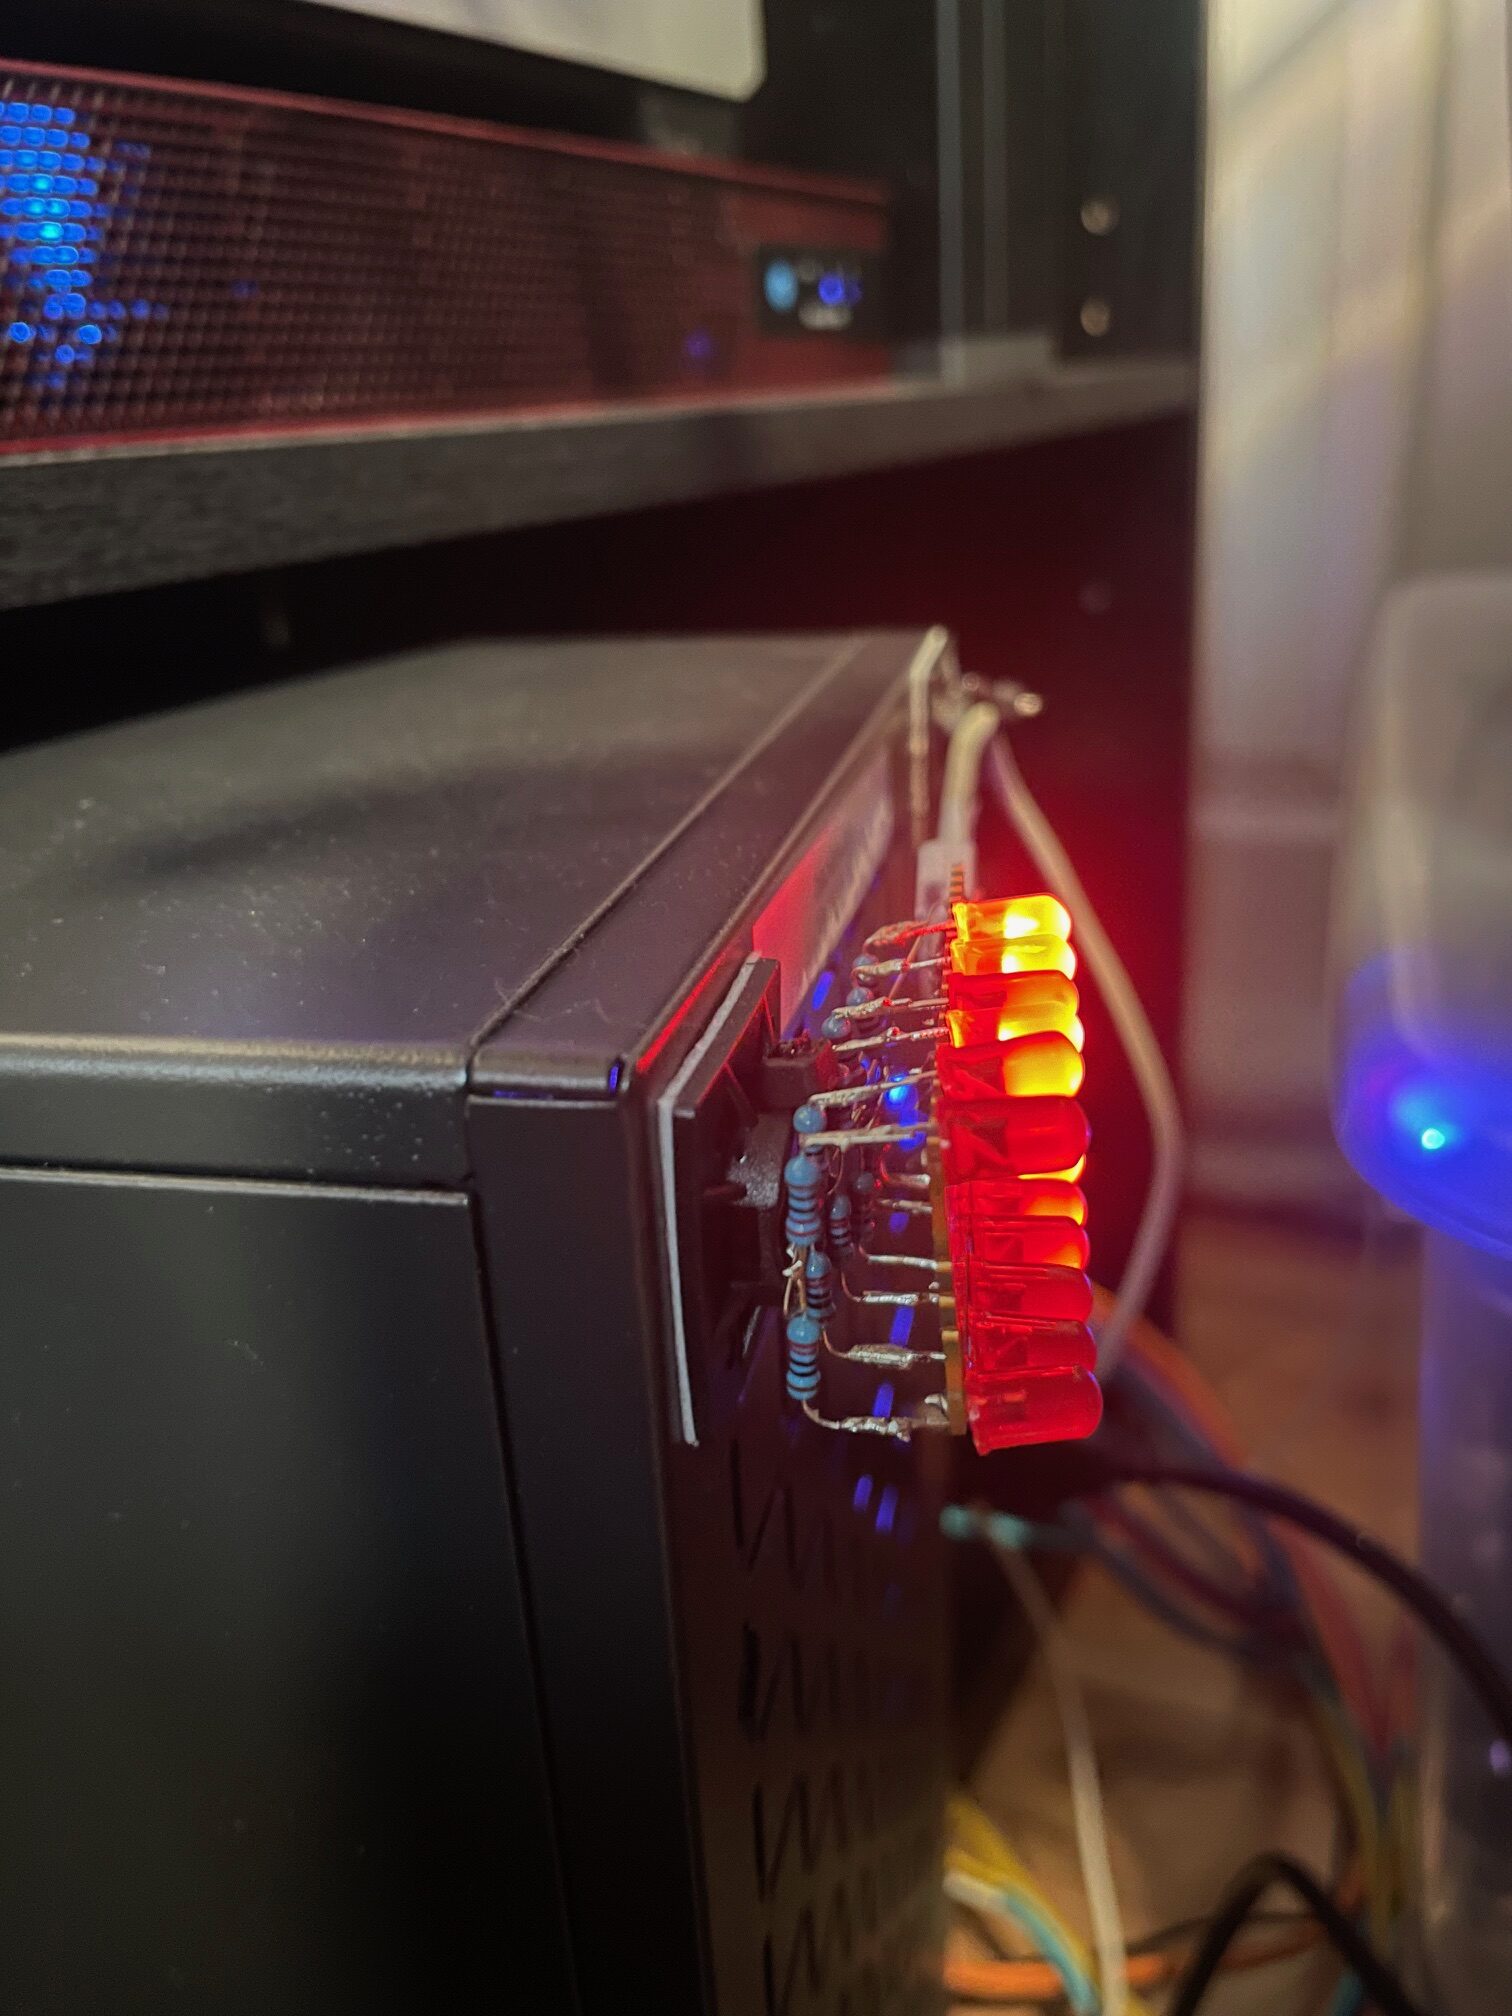 This is what the whole thing looks like fully assembled. Basically, the resistor just gets soldered to the leg of each LED which is NOT on the GPIO. The way I’ve done it here was to tie the ground side of each LED through a resistor, and then they all fold into a backbone, each folded onto the next, down the line, and finally tie over to a ground pad on the pico.
Here is a video of it in action: https://ben.lostgeek.net/files/demo.mov
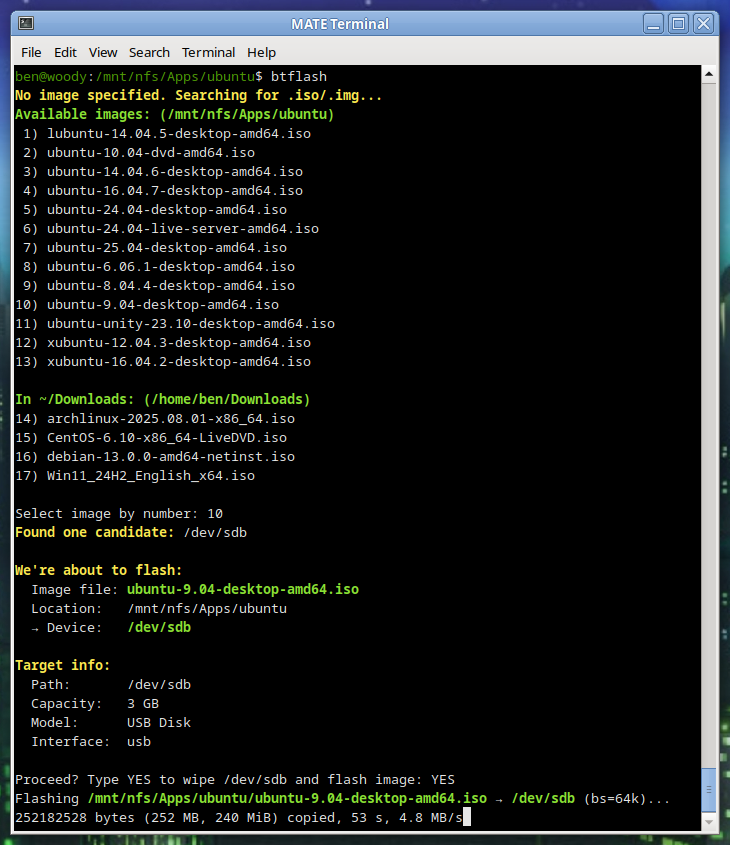
Basically, you’ll need two pieces of code. One which gets flashed to the RP2040 and handles the actual work of pulling the GPIO lines high/low when we get data from the computer.
How do we get the data to the pico? To keep things as simple as possible, we’re just using the Pico’s USB to uart. This makes the USB device show up in linux as a normal serial port, and makes it dead simple to interface with in software.
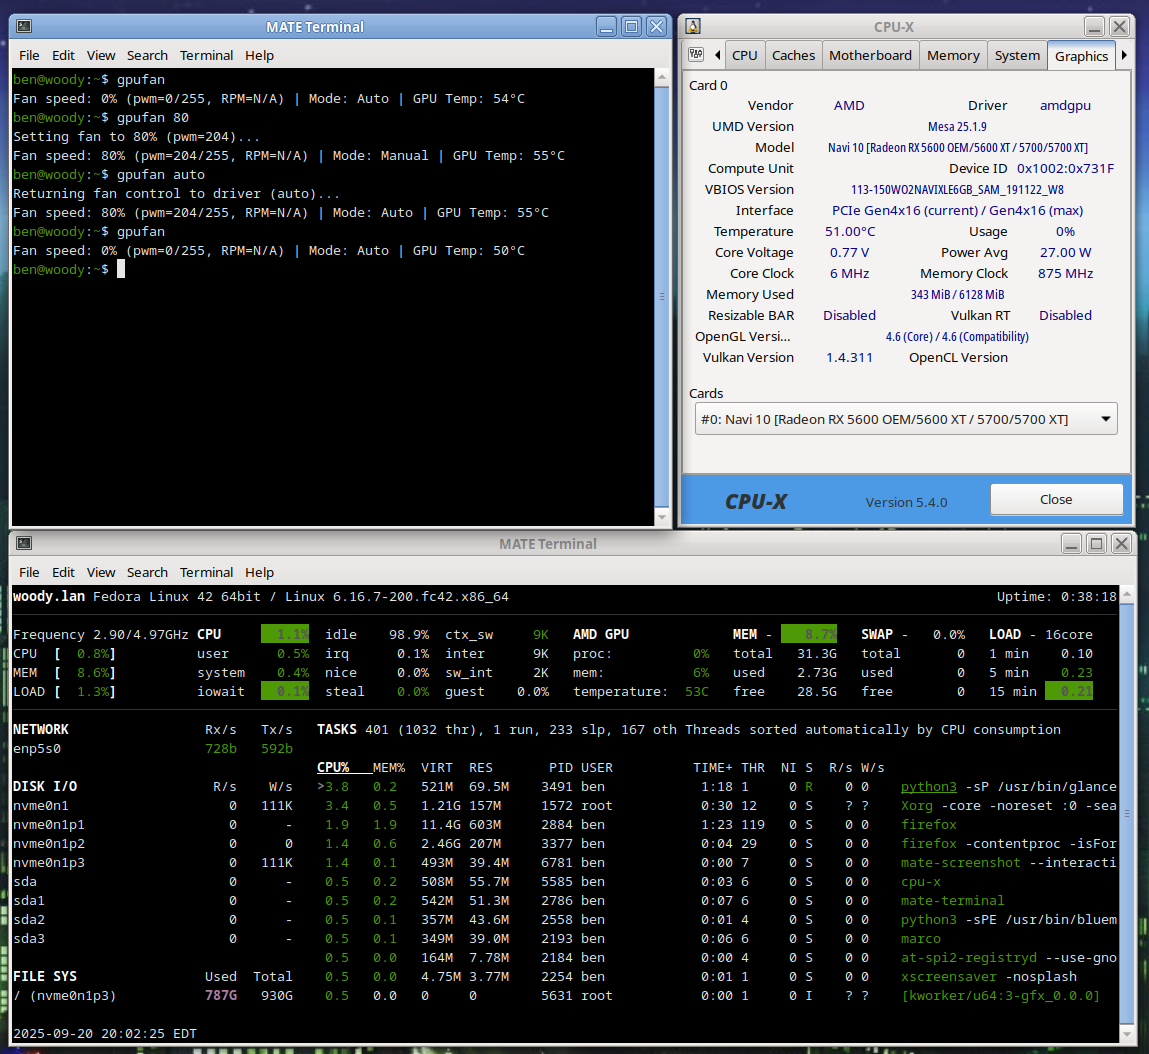
This is where the second piece of code we need comes into play. It is a daemon of sorts which runs on the machine of which we’d like to see CPU activity. Basically just a small amount of code to read from /proc, see our individual CPU core usage, do some math… and if it is above a certain threshold then we register that core as active and we tell the pico over serial.
My new server build has a 6 core, 12 thread Ryzen 5500 processor and so naturally I thought… Hey, wouldn’t it be cool if I had a little activity LED for each core? Well then, having one for each thread would be even cooler!
For a really nice, crisp, “activity LED” kind of genuine feel I’ve found that you want things updating pretty fast. My experience has been that a refresh period of about 30ms achieves that effect quite well.
If we try and poll the system too often then our daemon which sends data to the pico will start to use noticeable CPU time… Not very much by any means, but personally I’m happy to have the daemon only chewing up no more than ~ 1 % CPU utilization. With the 30ms update rate, it is only consuming 0.7 % of one thread. In other words, we’re only wasting a quite negligible 0.044 % of the total machine’s compute power to run our little light panel.
And who knows, I’m not a coder… someone could probably make this way more efficient. Let me know, if you have some much better code for this to run on 😉
You can get the code here: https://ben.lostgeek.net/files/blinken
Usual disclaimer Ai was used in the writing of the code for this.


 I’ve been wanting to grab one of these for a while and finally did. Ended up scoring a super clean, un-abused one just like I had back when these were all the rage. Mine came with Win XP, and IIRC had a SATA hard drive and 1 GB RAM. This one was actually a Linux machine from the get-go, neat! Only two things to note, it only has 512 MB RAM… and (according to DMESG anyway) has a PATA SSD… 8 whopping gigabytes. The 8 gig part I don’t mind, but I just expected it’d be SATA and I could easily throw something in… Oh well. Truth be told, 8 GB is enough. Right now I have Debian 12 /w Xorg + i3 and plenty of things installed and I think I’m still under 2GB used on disk. How does it run? Surprisingly well, considering it has 512MB RAM and a 1.6 GHz single core, 32 bit CPU. (HT, but not a real dual core)