Building an Optimized Linux Kernel on Fedora 42

fastfetch screenshot
Fastfetch shows my custom 6.15.9 Kernel

Preparation: You’ll need to install some tools and dependencies required by the build process. On Fedora you’ll want to run the following:

sudo dnf install gcc make ncurses-devel bc openssl-devel elfutils-libelf-devel rpmdevtools fedpkg rpm-build
sudo dnf builddep kernel

Getting the Kernel source tarball
Head over to https://kernel.org and download your branch of choice. I’d recommend the latest Stable tarball.

wget https://cdn.kernel.org/pub/linux/kernel/v6.x/linux-6.15.9.tar.xz

tar -xf linux-6.15.9.tar.xz
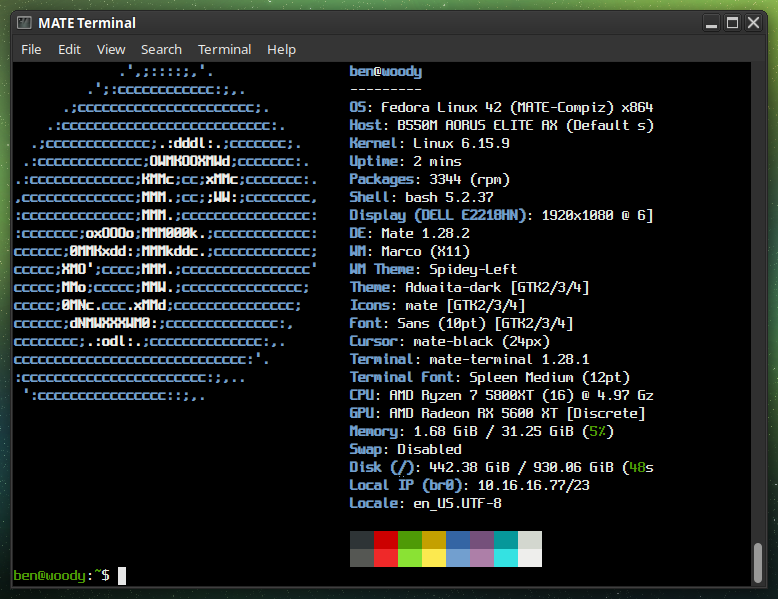
cd linux-6.15.9

Copy your current defconfig

We’ll copy the running kernel’s configuration into our source tree…

cp /boot/config-$(uname -r) .config
make oldconfig

You should see some output, ending with “configuration written to .config”.

The easiest way to set our flags is to simply export them in our current shell before proceeding to run make. I did the following for my AMD Ryzen 5800XT:

export KCFLAGS=’-march=znver3 -O3′
export KCPPFLAGS=’-march=znver3 -O3′

You can do march=native if you’re not sure exactly what to use for your specific CPU. Only do znver3 if you’ve got a Zen 3 chip!

Then build.*

make -j$(nproc)

* If you’d like, make additional makefile edits before running make. Or, make menuconfig if you’d like to browse through available options. But, be careful… It gets pretty technical! Simply by following the instructions above you’ll end up with a Kernel which is newer than what you’ve got, better optimized, and smaller. Basically, better in all ways. All without having to make any questionable changes on your own… But of course, feel free to explore the available options! Keep in mind, always keep a known-good stable kernel in your grub configuration in case you make a mistake!

Your kernel will take some time to compile. Anywhere from several minutes to a couple of hours, depending on how powerful your processor is and how many modules must be built. Higher optimization levels typically will take more time as well; the standard level is O2, we’re doing O3. Performance is generally better but the initial build will take a bit longer.

When the compilation is finished:

sudo make modules_install
sudo make install

This will install the kernel modules to /lib/modules/6.15.9/ (in this case). These are drivers and kernel features compiled as =m; they’re loadable instead of built directly into the kernel. Make install will install the compiled image to /boot. In this case /boot/vmlinuz-6.15.9.

We can verify our new image is Grub’s default by running:

sudo grubby –default-kernel

We should see /boot/vmlinuz-6.15.9”.

Reboot into your new optimized kernel!

XScreenSaver MATE Script for Fedora

Fedora

Added a script which does all the same things as the Debian MATE XSS script did…

Installs the Full XScreenSaver collection (GL + Extras)
Removes MATE Screensaver
Symlinks XSS commands to replace MATE SS commands
Optional SETUID for Sonar
Ensures MATE SS doesn’t try to reinstall
Locking works via “System” –> “Lock Screen”
Fix for locking via keyboard shortcut

https://ben.lostgeek.net/code/xsmate/

I disable zram every time I install Fedora

ZRam
If you do a quick search online, you’ll find plenty of discussions where people ask about turning off zram—for one reason or another. They’re often met with a barrage of comments saying they’re making things worse. “Zram is free performance, didn’t you know? It costs nothing and doubles your RAM!”

Yeah, well—hear me out.

My desktop has 16 GB of RAM. I don’t even get close to running out of memory unless it’s been up for 30 days straight with 100 different apps or browser tabs open. My newer ThinkPad has 8 GB.

Now, 8 GB isn’t considered a large amount of memory anymore. In fact, people will tell you it’s rapidly becoming the bare minimum. But I’ll tell you this: for most people’s needs, especially on a laptop, it’s plenty. I don’t tend to have much open on my notebook—just a couple of browser windows, a few terminals, email, maybe a file manager. Any more than that and I start feeling lazy, because odds are I’m not really using all that stuff. I tend to be more focused when I close down things I’m not actively using.

Anyway, back on topic—why don’t I use zram?

My machines are all 8 years old, or older. They work just fine, but they are not new.

My desktop has a 4th-gen Intel chip, and my laptop runs a 5th-gen low-voltage i5. Zram does give you “more memory,” but it comes at a cost. It works by compressing unused memory pages, which means your CPU has to do that work. Every time a page is written to zram or read back out, it must be compressed or decompressed.

Whether or not that impact is that noticeable, I can’t say for sure—I haven’t run benchmarks. But I do know this: my machines are fast enough, and I like to keep them light, fast, and nimble. And since I already have enough RAM, it makes no sense for me to use zram. If I do need to swap, all of my systems have fast SSDs to handle swapping well enough. I typically allocate 1–4 GB of swap space, and I do that on the fastest SSD in the system.

If you’ve got multiple drives—say, NVMe, SATA SSD, and a spinning hard drive—only put your swap on the NVMe. Another tip: if you’re not planning to hibernate, there’s no reason to make your swap as large as your RAM. Swap is useful as a safety net so your system doesn’t lock up when you run out of memory, but in my experience, I’ve rarely used more than 1 GB. If you’re consistently using multiple gigabytes of swap, you probably just need more RAM.

Another argument I often see is: “Zram doesn’t consume extra memory.” Well… how does that make any sense? Of course it does. Sure, it’s compressed—maybe you use 500 MB of RAM for what would’ve been 1 GB of swap—but I’d rather use that 500 MB as actual RAM and just let the system swap to SSD.

If you want to disable zram on Fedora, just create an empty config file called zram-generator.conf and place it in /etc/systemd/.

You can even do this from the live installer, while it’s still copying data. Just pop open a terminal and run:

sudo touch /mnt/sysroot/etc/systemd/zram-generator.conf


That’s it!
© 2025 LostGeek.NET - All Rights Reserved. Powered by ClassicPress, NGINX, Debian GNU/Linux.